How to Choose the Best Water Diversion Barriers?

Choosing the right water diversion barriers starts with the site, not the product label. A low doorway, sloping driveway, or exposed loading bay can each send water along a different path. NOAA’s 2024 U.S. Billion-Dollar Weather and Climate Disasters report recorded 27 disasters, with estimated losses of $182.7 billion. The total covers several hazard types, not flooding alone, so it should not be read as a flood-damage figure. Still, it underscores why practical flood planning deserves careful attention.

A useful barrier must match the expected water depth, flow direction, ground surface, and time available for deployment. Check whether the system seals against uneven concrete, how its joints connect, and whether one person can install it safely. Ask for test results, installation instructions, and clear limits on use. Details matter. A product’s stated height alone does not show how it performs around corners, vehicle entrances, or debris. Portable panels may suit a short-term setup, while fixed systems can make sense at repeatedly exposed openings. Neither is automatically better. Site conditions decide.

This guide compares common barrier types and the questions buyers should ask before choosing. It also considers storage, maintenance, and the cost of preparing a system before heavy rain arrives. A limitation is worth stating: no barrier removes all flood risk, and poor installation can defeat a well-designed system. Use manufacturer documentation and qualified site advice where exposure is significant. A careful choice is less dramatic, but more dependable.
How to Choose the Best Water Diversion Barriers?

Define the Site Conditions and Water Diversion Requirements

Before selecting a water diversion barrier, map where water comes from, where it must go, and what could block its path. Walk the site after rain if possible. Note low points, drain inlets, slope, soil firmness, nearby structures, and vehicle access. Measure the channel width and expected water depth; estimate flow speed from observed movement or local drainage records. Small details matter. A curb opening or loose gravel can redirect water around a barrier.

Use local data, not a generic “design storm.” NOAA Atlas 14 provides precipitation-frequency estimates by location and storm duration, helping teams assess rainfall inputs. FEMA explains that a flood with a 1% annual chance has about a 26% chance of occurring during a 30-year mortgage. That is a probability, not a schedule. Check flood maps, stream-gauge records, and site drainage plans, then confirm assumptions in the field. Records can miss recent grading or blocked drains.

Define the diversion requirement in practical terms: target flow, acceptable water depth, protection area, setup time, and expected duration. Consider sediment, floating branches, and pressure against the barrier. A short, shallow flow over pavement differs from fast runoff crossing soft soil. The fit may look sound on paper. It still needs checking. Photograph the site, mark proposed barrier ends, and identify a safe overflow route. If flow estimates are uncertain, record that uncertainty before choosing equipment.
How to Choose the Best Water Diversion Barriers? — Define the Site Conditions and Water Diversion Requirements

Use this screening table to organize site information before selecting a temporary diversion system. The example values are planning scenarios, not design limits; confirm project-specific requirements with a qualified engineer and applicable permits.

Site condition or requirement Example field information Why it matters Selection considerations Checks before installation
Water depth and level variation Depth at the work area: 0.3–0.6 m; water level may rise by about 0.2 m after rainfall. Water depth and changes in level affect barrier height, stability, overtopping risk, and the amount of water that must be diverted or pumped. Compare the expected operating level and possible rises with the barrier’s usable height and the planned freeboard. A modular or engineered cofferdam may be needed where levels vary substantially. Measure levels at more than one point and check upstream rainfall, releases, tides, and known seasonal fluctuations.
Flow rate and current velocity Estimated flow: 0.15 m³/s; measured current near the work zone: 0.25 m/s. Flow and velocity influence forces on the barrier, leakage, scour, and the pumping capacity required to keep the work area dry. For stronger or changing currents, consider a system specifically designed for the expected hydraulic loading. Do not select a barrier from flow rate alone; geometry, depth, debris, and anchoring also matter. Record flow conditions at representative times. Assess upstream inflows and define a safe response to increases in flow.
Bed material and bearing conditions Fine sand and silt over compacted gravel; soft patches observed near the channel edge. Soft, uneven, or erodible beds can allow seepage or settlement and may reduce the support or anchorage available to a barrier. Check whether the barrier needs a prepared base, sealing layer, ballast, or engineered anchorage. On permeable beds, plan for seepage collection and pumping. Inspect the bed for loose sediment, voids, slope changes, and buried services. Confirm that any ground preparation is permitted.
Channel shape and available footprint Work area is 8 m wide, with a gently sloping bank and limited space for equipment on one side. Barrier length, layout, access, and end connections depend on channel width, bank shape, and space for installation and maintenance. Choose a configuration that can be placed and connected across the site without blocking required access or creating an unsafe flow concentration. Survey the channel and banks, identify a suitable tie-in point, and allow room for pumps, hoses, inspection, and emergency access.
Debris, sediment, and water quality Occasional branches and floating vegetation; turbid water during rainfall. Debris can impact or snag a barrier, while disturbance of fine sediment may increase turbidity and affect downstream water quality. Consider debris management and sediment controls alongside the barrier. Avoid layouts that trap debris against a barrier or cause excessive local scour. Check expected debris sources and downstream constraints. Include inspection frequency, safe removal methods, and any required turbidity monitoring.
Duration and expected weather Work is planned for five days during a season with occasional heavy rain. Longer installations and changing weather increase exposure to rising water, leakage, material wear, and changing site conditions. Match the system and inspection plan to the full installation period. Set clear thresholds for stopping work, evacuating, or removing the diversion. Review forecasts and site records; identify an alternative plan for heavy rainfall, high water, or unexpected inflow.
Required diversion and dry-work area Maintain the main channel flow while isolating a 6 m by 4 m work area. The required isolated area and permitted flow path determine barrier layout, bypass capacity, and the size of the dewatered work zone. Define whether flow will pass through a bypass channel, pipe, or pump system. Size and configure the complete diversion system for the expected flow, not just the barrier. Confirm allowable flow changes, discharge location, pump redundancy needs, and any fish passage or environmental timing requirements.
Access, installation, and removal Access is available for a small excavator; heavy vehicle access is restricted. Transport limits and installation equipment can rule out otherwise suitable systems and affect how quickly the site can be made safe. Compare component weight, handling method, installation time, and removal requirements with available access and crew capacity. Plan equipment routes, lifting or handling procedures, temporary storage, and a safe sequence for installation and removal.

Compare Common Types of Water Diversion Barriers

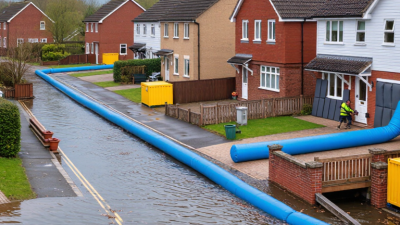
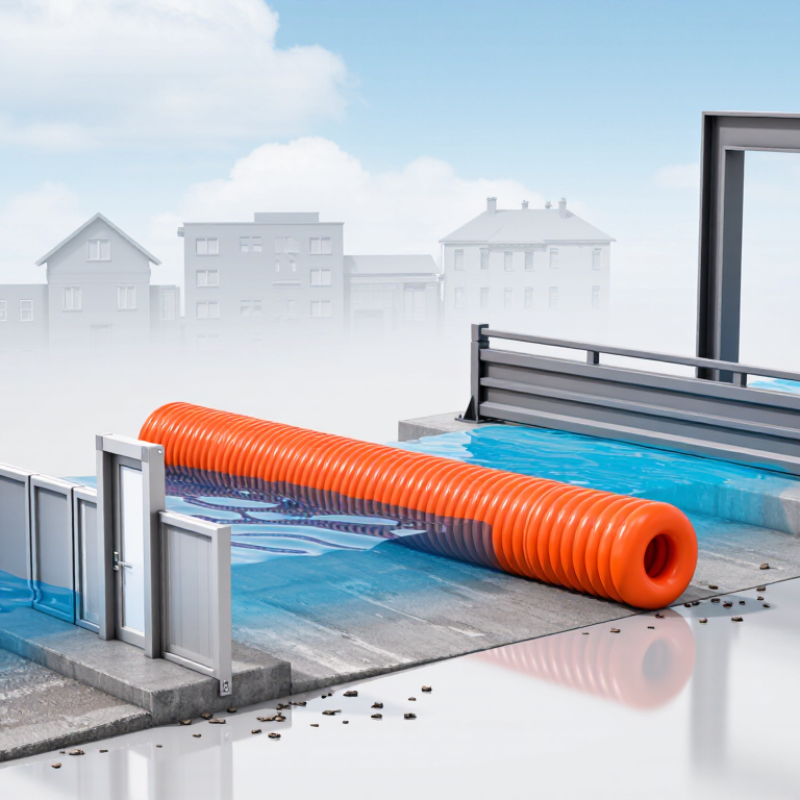
Water diversion barriers trade speed for strength and space. Sandbags suit short, irregular runs around doorways or drains, and crews can shape them around corners. They are labor-intensive, though, and gaps between bags can leak if placement is rushed. The U.S. Army Corps of Engineers’ Flood Fight Handbook recommends careful, overlapping placement. Small details matter. Water-filled tubes cover longer, relatively smooth stretches quickly, but require a firm surface and secure anchoring; sharp debris or uneven ground can undermine the seal. NOAA recorded 28 U.S. weather and climate disasters with losses exceeding $1 billion each in 2023, totaling an estimated $92.9 billion (NOAA, 2024). That scale makes choosing for the actual site—not appearance—important.

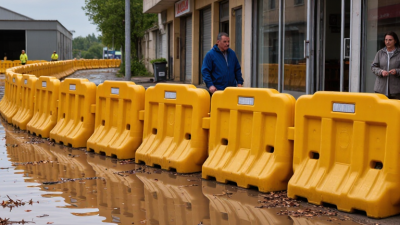
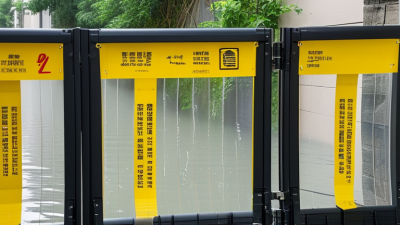
Interlocking modular panels create a more controlled route for diverting water, especially where crews need a repeatable layout. They can be faster to assemble than a large sandbag line, but joints, end points, and ground slope need close inspection. Earth berms can use local soil and work well where space is available; they need compaction and erosion protection, and may be impractical on narrow streets. Measure expected water depth, flow direction, available setup time, and ground conditions before selecting a system. A small field trial can reveal leaks or awkward turns. It is not a perfect substitute for engineering review, but it can expose assumptions early.

Evaluate Barrier Height, Materials, and Flow Capacity

How to Choose the Best Water Diversion Barriers?

Evaluate Barrier Height, Materials, and Flow Capacity

Barrier height should match the water level you expect, with extra allowance for waves, debris, and uneven ground. FEMA Flood Insurance Study reports and Flood Insurance Rate Maps provide base flood elevations for mapped areas. Treat them as a starting point, not a complete site assessment: local drainage and recent construction can change how water moves. Measure the route carefully. A low point beside a doorway can defeat an otherwise tall barrier.

Material affects both strength and handling. Reinforced panels resist impact better than lightweight sheets, while flexible systems can fit irregular ground but need sound anchoring. Look for clear test results, connection details, and guidance on repeated use. Small gaps matter. A few centimeters of seepage may be manageable; a loose joint under fast flow can quickly become a weak spot. I have seen plans overlook the ground beneath the barrier. It deserves attention.

Flow capacity is not just a product rating. Estimate peak discharge, water depth, and velocity for the site, then check the diversion route for bottlenecks. The US Army Corps of Engineers’ HEC-RAS hydraulic guidance explains how channel geometry and flow conditions affect water-surface behavior. Use a qualified engineer for complex sites. Sometimes the available data is incomplete, and that uncertainty should be stated—not hidden. A barrier that holds still water may perform differently when flow pushes debris against it.

Check Installation, Maintenance, and Safety Requirements

How to Choose the Best Water Diversion Barriers?

Before selecting a barrier, check how it will be installed at the site. Measure the channel width, ground slope, and available space for anchoring. Note whether the surface is pavement, compacted soil, or uneven gravel. Each surface can affect stability and sealing. Check product documentation for rated water depth, flow conditions, connection methods, and installation limits. If these details are unclear, ask a qualified supplier or site professional before deployment. Do a dry run. It can reveal awkward joints or blocked walkways before water arrives.

Plan maintenance and safety around real conditions, not just the setup diagram. Assign someone to inspect the barrier during use, especially after heavy rain or rising water. Look for shifting sections, leaks, loose anchors, and debris collecting against the barrier. Keep drainage paths and emergency exits clear. Workers should use suitable protective equipment and avoid entering fast-moving or deep water to adjust equipment. Follow the maker’s instructions and the site’s safety procedures. No setup is perfect; changing ground or sudden flow can still cause problems. That is easy to underestimate. Keep a repair kit nearby, but stop work and reassess if the barrier becomes unstable.

How to Choose the Best Water Diversion Barriers? — Check Installation, Maintenance, and Safety Requirements

Static water pressure rises by about 9.81 kPa for every metre of water depth. Use this as a starting point when checking a barrier’s rated capacity, anchoring, and installation requirements. Actual conditions may impose greater loads due to moving water, waves, or debris; follow the barrier manufacturer’s instructions and inspect and maintain the system as specified.

Gauge pressure shown; atmospheric pressure is excluded. Values use freshwater density of 1,000 kg/m³ and gravitational acceleration of 9.81 m/s².

Match Barrier Options to Budget and Project Constraints

Choose barriers by total project cost, not purchase price alone. Sandbags may suit short, low-flow work, but they need many hands, careful placement, and disposal afterward. Water-filled barriers can deploy quickly where access and a reliable fill source exist; check ground firmness and room for setup. Modular panels often cost more upfront, yet may be reused across jobs. Access matters. Narrow streets, soft banks, and uneven ground can rule out otherwise suitable systems.

NOAA’s 2023 U.S. Billion-Dollar Weather and Climate Disasters report recorded 28 events, with estimated losses of $92.9 billion. That national figure is not a site-level forecast, but it makes contingency planning worth considering. Set aside funds for transport, installation, inspection, repairs, and removal. Ask a qualified engineer to assess expected water depth, flow speed, duration, and soil conditions before selecting a barrier. A low-cost option may become costly if it needs frequent repair or cannot be installed safely. Test the setup. A small trial can reveal leaks, awkward connections, or access problems before water rises. Some choices still involve trade-offs; record why the selected option fits the site and budget.